photo Header_zps24cd14cd.png
Showing posts with label cooking. Show all posts

7.25.2013

Zucchini Lasagna

The best thing about changing my eating habits has been experimenting with new foods. I never understand how versatile most vegetables can be --substituting cauliflower for rice, spaghetti squash for noodles, and now replacing lasagna noodles with zucchini!! Veggies are kinda cool, huh? And low and behold they taste good, too! ;)
The original recipe can be found at Skinnytaste. My recipe and directions are altered slightly from hers. To make this dish a little healthier I used ground turkey instead of beef and left out the parmesan cheese.

Ingredients:
 - 1 lb ground turkey
 - 3 cloves garlic
 - 1/2 onion
 - 1 tsp olive oil
 - salt and pepper
 - 5 zucchinis, sliced lengthwise (depending on size. ours were a little small so I had to do 5)
 - 15 oz ricotta cheese
 - 1 log mozzarella cheese, sliced thin (or buy shredded) 
 - 1 can of your favorite spaghetti sauce

Directions:
In a medium sauce pan, brown meat and season with salt. When thoroughly cooked, drain and set    aside. Add olive oil to pan and sauté garlic and onions for about 2 minutes. Add meat. Simmer on low for about 20 minutes. 

Meanwhile, slice zucchini lengthwise. (I used a mandolin to do this, which gave me thin, even slices) Lightly salt and set aside for 10 minutes. The salt helps take some of the moisture out of the zucchini. After 10 minutes, blot excess moisture with a paper towel.

Next, if you have a grill, follow the original recipes instructions for grilling the zucchini. If you're poor like me (jk..) and don't own a grill, you can broil your zucchini on high for about 4 minutes or until cooked. I placed the zucchini on a wired cooling rack and placed a cookie sheet under it (not a flat one, it needs to have sides) to catch any excess moisture.

Preheat the over the 375 degrees.

In a 9x12 casserole dish, spread some sauce on the bottom and layer the zucchini to cover. Then place some of the meat mixture on top, followed by ricotta, mozzarella, and more sauce. Repeat the process until all your ingredients are used up. Top with sauce and more mozzarella if you wish.

Cover the dish with tin foil and bake for 45 minutes. Then uncover and bake for another 15 minutes.
Trust me, you won't miss the noodles one bit!! This tasty, gluten free alternative to lasagna is a healthier option without compromising the taste. Now get cooking!! And enjoy...

2.12.2013

Raspberry Butter

Are you familiar with Ree Drummond? Better know as The Pioneer Woman? If not, you most definitely should start perusing her blog. She is an excellent writer, stunning photographer, and chef extraordinaire! Seriously, I don't know how she does it all...I'm convinced she's superwoman.

Oh yeah, and she is obsessed with her dog, Charlie, so I feel as though we're kindred spirits in some way.

...FINE! I admit it, I'm the Pioneer Woman's biggest stalker. During one of these stalking sessions, I was watching her make some french toast on TV (Oh yeah, she has her own TV show) and some raspberry butter to go with that french toast.

My jaw hit the floor...I had to make this pronto!

I'm sure the recipe is on her blog somewhere, but I jotted it all down for you while watching TV. My ingredients list looks like this:

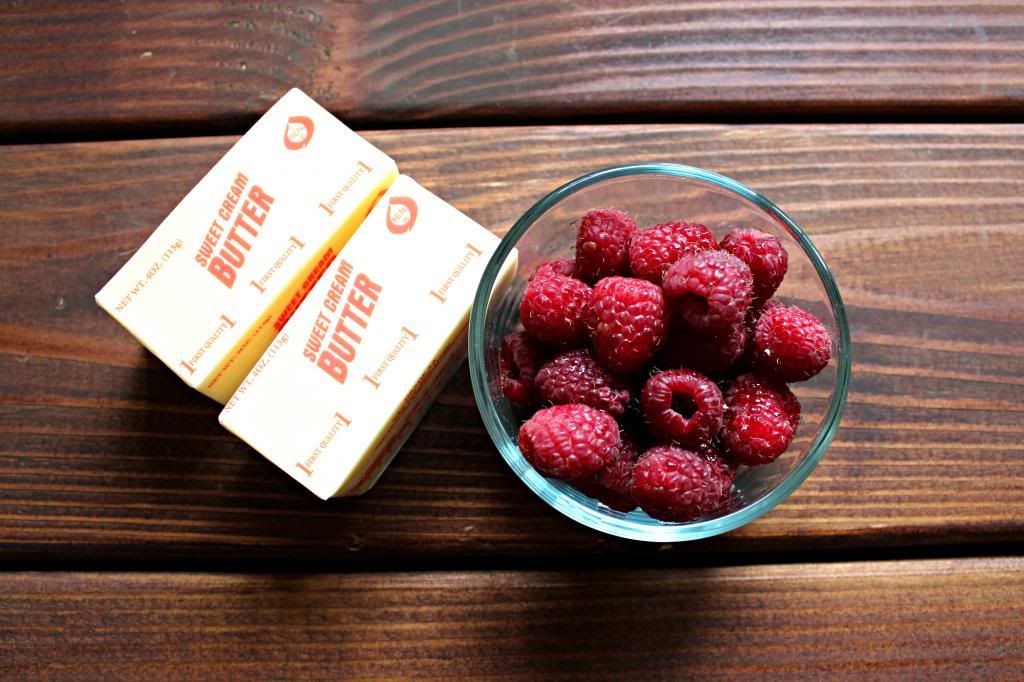
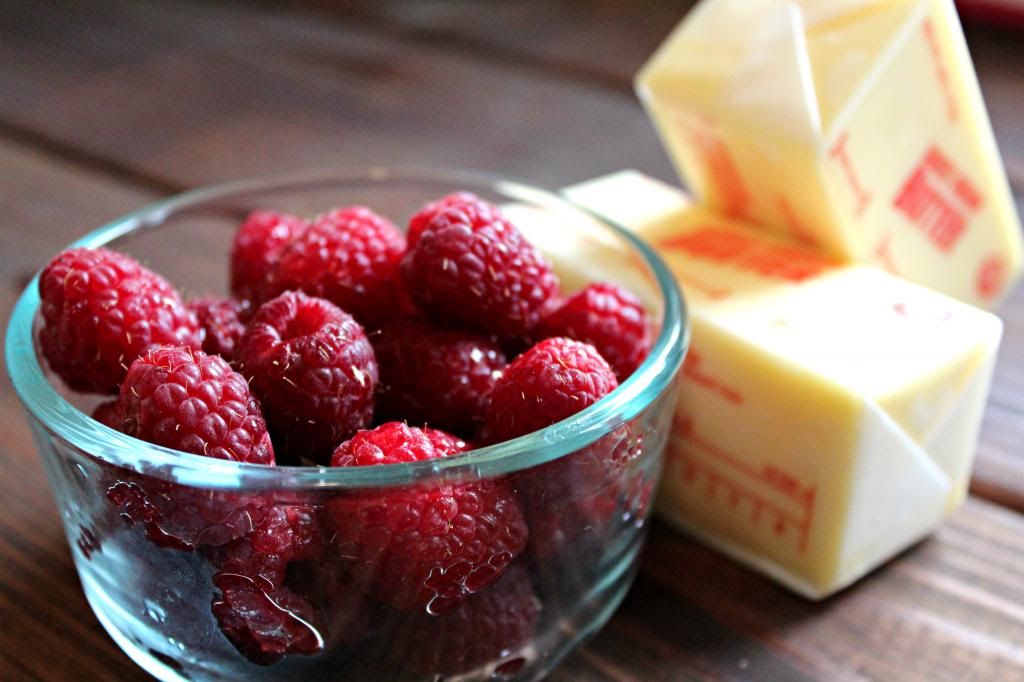
2 sticks softened butter (she used unsalted, I used salted)
1/2 cup raspberries (or any other berry you'd like)

That's it!
Whisk the butter in your mixer until it's light and fluffy.
Switch from the whisk attachment to the paddle attachment on your mixer.
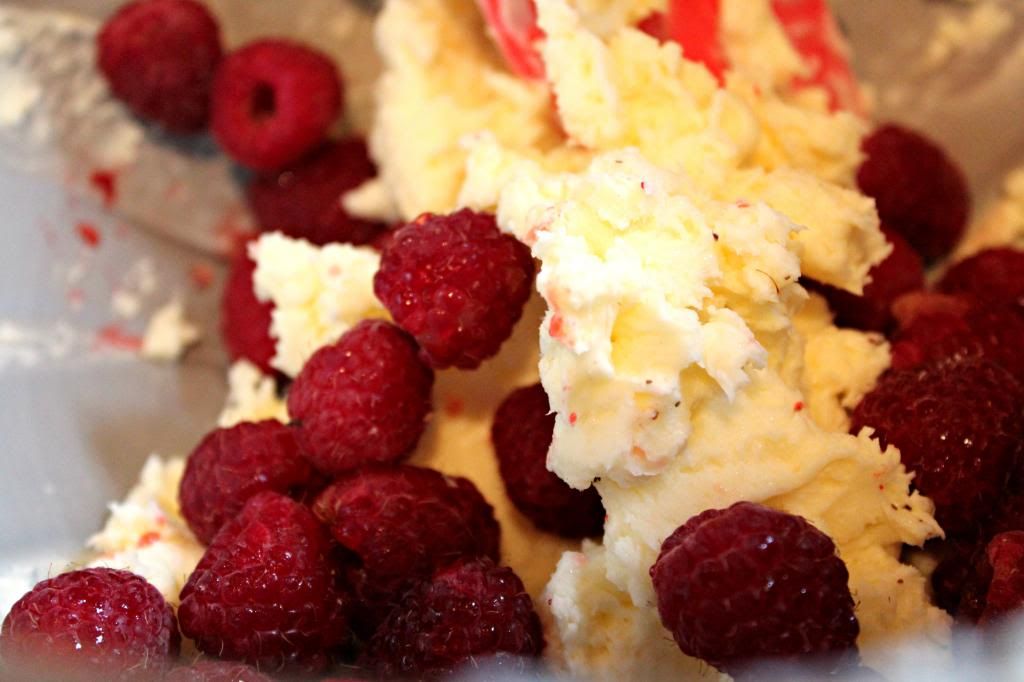
Add the raspberries. Mix for about 5 seconds (any longer and the raspberries will just fall a part)
Once the butter and raspberries are well combined, place a sheet of aluminum foil on the counter with a piece of plastic wrap on top of it.

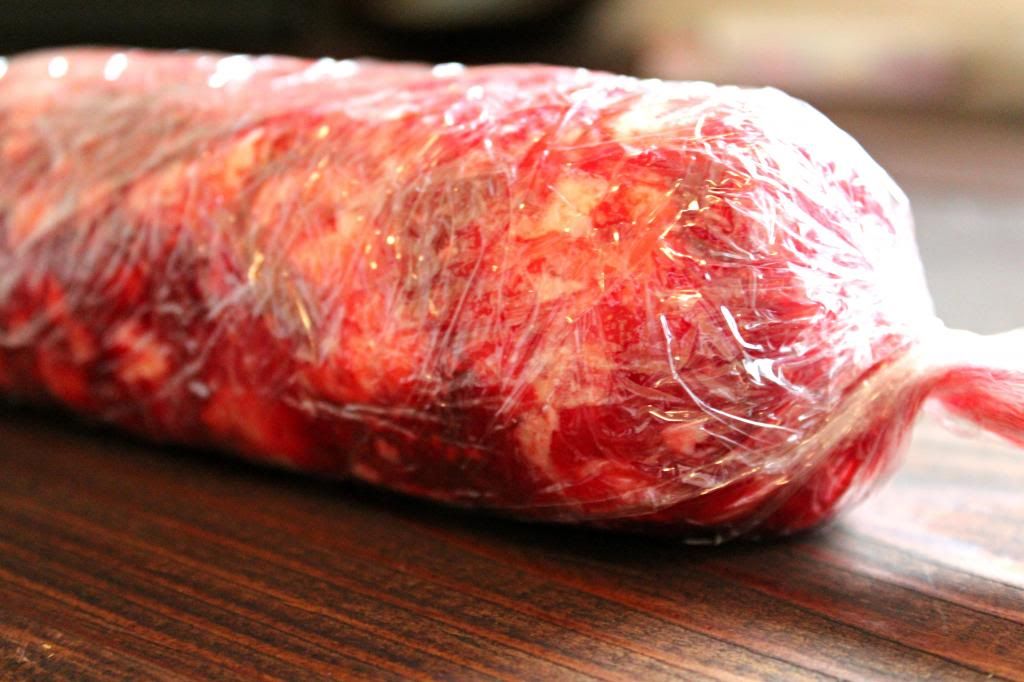
Spoon the mixture onto the plastic wrap and begin to roll it - shaping it like a cylinder while you're rolling (think tootsie rolls).
I took this photo without the aluminum foil on it. See how it's on cohesive block of raspberry butter? Once it's wrapped it the plastic wrap and aluminum foil, freeze it, and the refrigerate till it's ready to be used.
Folks, this is delicious!!! Like soooo, sooooooooooo good! I loved it (obviously). And the hubby did too! It's perfect for french toast, pancakes, or even to spread on your morning bagel.

Trust me, if you give this recipe a go you won't be disappointed.

1.31.2013

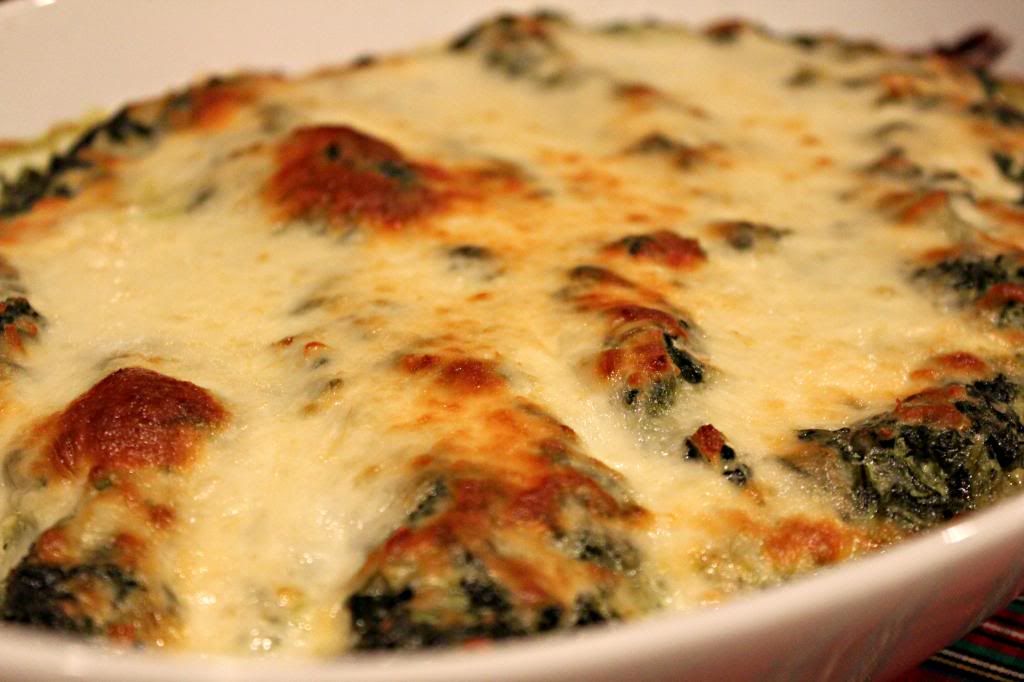
Saw It. Pinned It. Did It. // Hot Spinach Dip

Maybe I'm on a spinach kick or maybe I'm just trying to grow big and strong, but either way I simply don't understand the fuss with spinach. It is delicious and good for you. So if you're not sold on spinach, you should be.

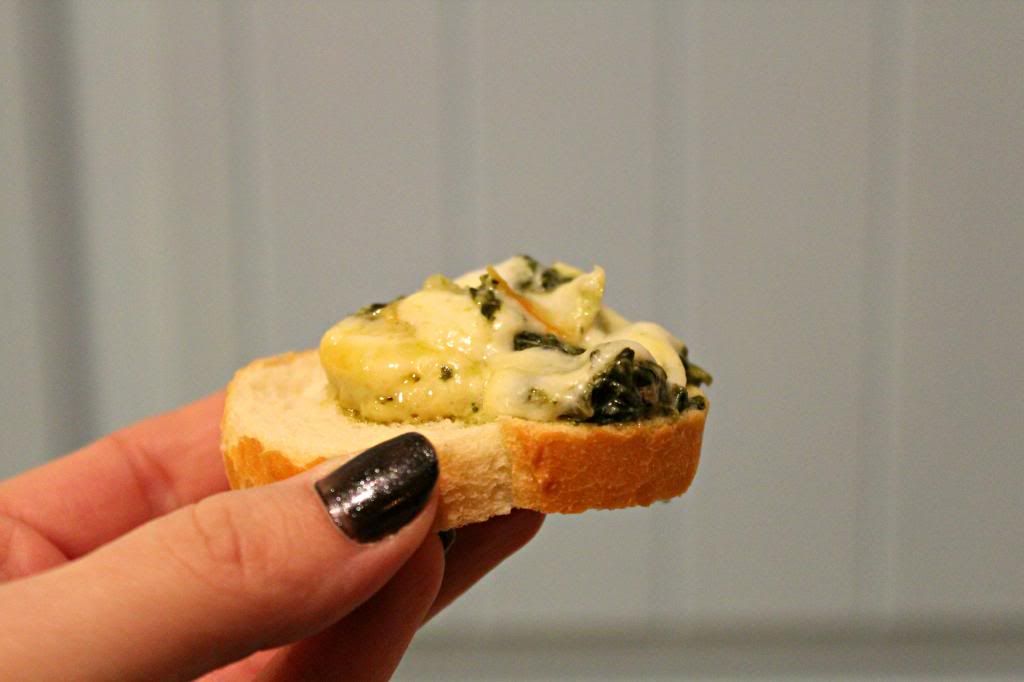
I made this dish at New Years and it was awesome! If you're looking for a easy side dish to whip up for the Super Bowl this Sunday, I'd highly recommend it. And this is a HUGE side dish! This recipe can feed a ton of people! 

Here is the original pin, via Martha Stewart Recipes.
Ingredients:
2 teaspoons olive oil, plus more for baking dish
1 medium inion, diced
2 garlic gloves, minced
2 pounds spinach (I used frozen, but gave it ample time to thaw before cooking)
1/2 cup milk
6 oz cream cheese
3 dashes Worcestershire sauce
3 dashes hot sauce (I used tobacco)
3/4 cup shredded mozzarella
salt and pepper
Baguette slices for serving (crackers would work too!)

Directions:
Preheat over to 425 degrees. In a large pot, heat oil over medium. Add onion and garlic; cook until lightly browned. Add spinach in two additions. Let the first batch wilt before adding the second. Cook until completely wilted, 5 to 8 minutes. Transfer to a colander and drain, pressing to release all excess liquid.

In the same pot, warm milk over high heat. Whisk in cream cheese until melted, about 3 minutes. Add spinach, Worcestershire sauce, hot sauce, and 1/4 cup of cheese; stir to combine. Season with salt and pepper. Pour into a lightly oiled 1 1/2 quart shallow baking dish; sprinkle with remaining cheese.

Back until bubbly and golden brown, 20 to 25 minutes. 
Okay, so maybe this dish is no longer good for you once the mozzarella cheese is added! But trust me, it's worth it!


12.13.2012

Chocolate Chip Cookie Dough Truffles


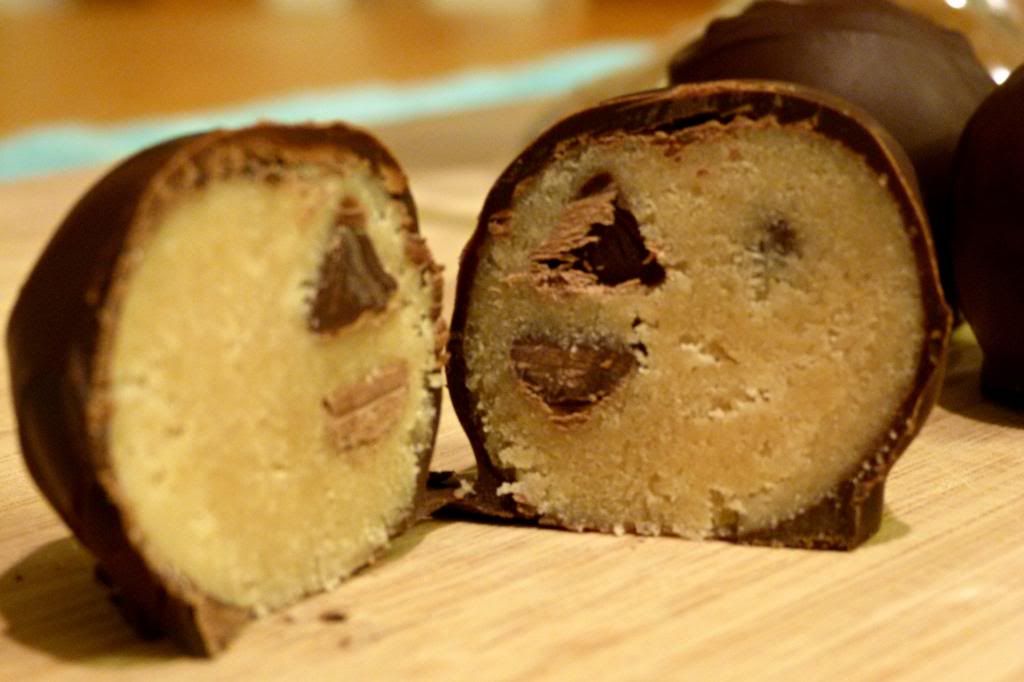
For some reason, everyone on my Facebook apparently thinks I'm lying about making these. But I made them even though there are none left for evidence and let me tell you...THEY WERE AWESOME! They're like Christmas time rolled into a ball and dipped in chocolate.  I'm not kidding. They will make you cry tears of joy. They are that good. 

You can find the original recipe I pinned here

ingredients:

2 1/2 cups all purpose flour
1 tsp salt
1 cup (2 sticks) butter, room temperature
3/4 cup granulated sugar
3/4 cup packed brown sugar
1 tsp vanilla
1/3 cup milk or cream (soy or almond milk works too)
1 cup mini semi- sweet chocolate chips

14 oz semi-sweet chocolate baking bars

directions:

Beat butter and sugars in a large bowl with electric mixer on medium speed until light and fluffy. Add cream and vanilla. Stir in flour and salt and mix on low speed (or by hand) until incorporated. Stir in chocolate chips.

Cover and chill dough for 1 hour.

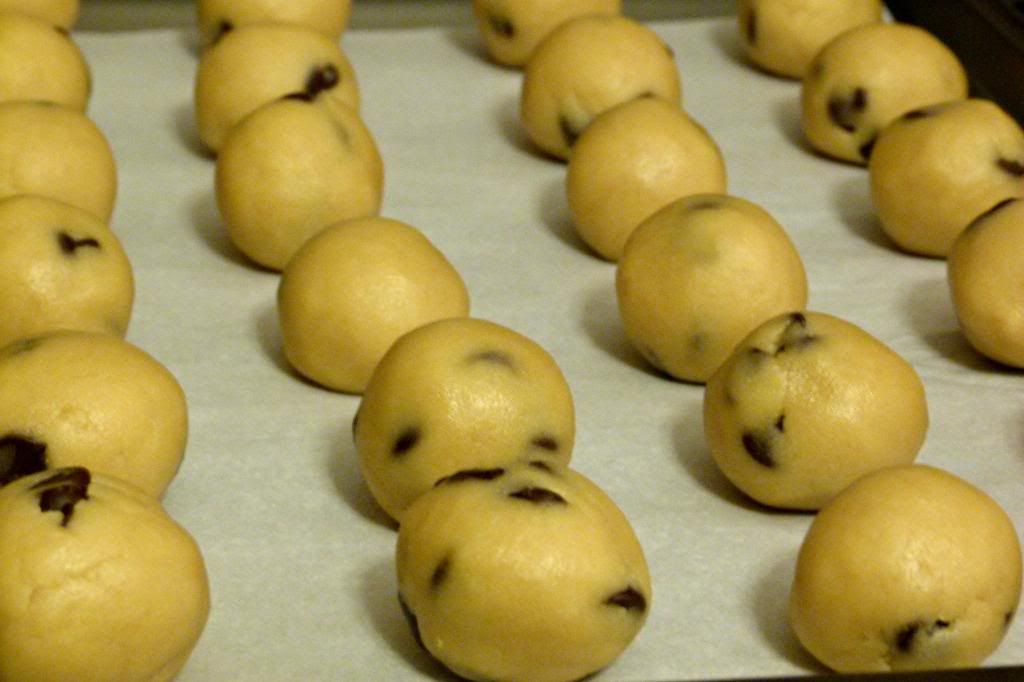
When dough is firm enough to handle, form dough into 1" balls and arrange on baking sheet lined with waxed paper. Refrigerate dough for another hour.

Melt chocolate bars in a double boiler or in microwave according to package directions. Using forks or a dipping tool, dip cookie balls into chocolate coating to cover. Chill until set. Store, chilled, in an airtight container for up to 1 week.
The original pin says this makes up to 3-4 dozen truffles. I was able to get just under 3 dozen. So either I made the cookie dough balls much larger than directed or I ate too much dough in the process. I'm going to go with the first scenario. 

Want to see more Saw it. Pinned it. Did it. successes? Click on the links below!
Homemade Cinnamon Christmas Ornaments
DIY Framed Cork Board
Homemade Stromboli
DIY Office Desk

11.01.2012

Saw It. Pinned It. Did It. - Homemade Stromboli

If you've been reading along this week you know I've been in a bit of a cooking frenzy as of late. But I wanted to wait and share my favorite Pinterest inspired dish today for the Saw it. Pinned it. Did it. link up! And I can actually say this week that I did it and not my husband. So high five to me.

Here's the original pin.
Via
I thought these homemade stomboli pinwheels would be perfect for a Sunday game day dinner! And the photo above made me salivate so basically I didn't have a choice. I had to make it. 
Ingredients:
1 can refrigerated pizza dough *(Or you can make you're own! I made my own dough and follow this recipe).
2 cups shredded mozzarella cheese
1 pack thinly sliced salami
1-2 cups fresh baby spinach
sliced mushrooms
Italian seasoning
coarse salt and pepper
Extra virgin olive oil
Directions:
Roll out pizza dough on flour surface into a large rectangle. Add 1 cup of mozzarella cheese. Sprinkle dough with Italian seasoning. Lay salami our in a single sheet, slightly overlapped. Sprinkle salami with chopped spinach and mushrooms, etc. Add the remaining mozzarella cheese. Roll dough up into a log. Rub the top of dough with the olive oil and sprinkle with coarse salt and pepper. Bake at 425 degrees for 25 minutes until golden brown. 
Feel free to add any additional veggies you'd like in your Stromboli. Just remember the more stuffed you make it, the longer you may have to cook it. 
If you want to get the Stromboli into bite size pinwheels, wait until the Stromboli cools and then cut the bread diagonally. This makes it the perfect size to dip in Ranch or Blue Cheese dressing. Mmmmm.
Also, this was the very first time I made pizza dough from scratch and it was so simple and tasty! It is definitely worth it if you have the time. The recipe I followed makes enough dough for two Stromboli's, so I simply froze the rest of the dough to use later! 
If you missed my Saw it. Pinned it. Did it. post from last week, click here! Happy Thursday, friends!

10.31.2012

Tortilla Pizza

I pinned this recipe a long time ago because it looked like a quick and easy after work dinner for when I'm just too tired to cook my usual four course meal for the husband (psssh yeah, right). But seriously, these tasty little tortilla pizzas only take about 15 minutes start to finish.
Ingredients (for one pizza)
1 tortilla
2 tsp pesto or pizza sauce 
Mozzarella cheese
Veggies of your choice (we used tomato, red pepper, onion, and mushrooms)
Salt and pepper to taste

Directions
Preheat oven to 400 degrees F. Spread the pesto or pizza sauce on the tortilla. Place on an ungreased baking sheet. Top with your choice of veggies and the mozzarella cheese. Bake 8 to 10 minutes or until cheese is melted and tortilla edges begin to brown.
That's it! These tortilla pizzas are so easy and soo good! And the best part is you can completely personalize the ingredients (these would be great for kids with just some cheese and pepperoni). Again, Steven loved this recipe, but I'm beginning to think he's just not that hard to please when it comes to food ;)

If you'd like to see the original pinned recipe go here! And to see more of recipes I've pinned go to my Pinterest board here!

Oh yeah, Happy Halloween :)


10.30.2012

Chicken Pesto Bake

Chicken breast is always something Steven and I have on hand, yet I never seem to know what to do with it. Mostly because I hate handling raw chicken, but also because although I know there are many different ways to cook chicken, I usually decide on the same two or three tried and true recipes, and after a while those recipes don't sound so appetizing. 

When I pinned this chicken pesto bake and saw how easy it was to throw together, I was determined to give the recipe a try. 
Via
This recipe was adapted from SkinnyTaste. You can find the nutritional information for this dish here.

Ingredients
2 boneless, skinless chicken breasts
salt and pepper to taste
4 tsp Basil Pesto
1 medium tomato, sliced thin
6 tbsp shredded mozzarella cheese
2 tsp grated parmesan cheese

Directions:
Wash chicken and dry with a paper towel. Slice chicken breast horizontally to create 4 thinner cutlets. Season lightly with salt and pepper.

Preheat oven to 400° F. Line baking sheet with foil or parchment. 

Place the chicken on prepared baking sheet. Spread 1 tsp of pesto over each piece of chicken. 

Bake for 15 minutes or until chicken is no longer pink in center. Remove from oven; top with tomatoes, mozzarella, and parmesan cheese. Back for an additional 3 to 5 minutes. 
Via
 Obviously, her photos are much better than mine so I had to sprinkle some in ;)

Steven seriously loved this dish! His comments were that the chicken was tasty, flavorful, and tender. I thought it was delicious too, but just the fact that you can whip this up in 20 to 25 minutes is enough for me to add it into my regular chicken dinner rotation.

I'd love to hear if you give this recipe a try and how it turns out! Trust me, I am no expert cook. So if I can make a good chicken pesto bake you can too! It's that easy :)

10.18.2012

Another Fall Failure

You already learned this week that I'm the world's worst pumpkin carver, but apparently I am also a terrible pumpkin seeds cook. 

I love pumpkin seeds. I can remember when my mom use to make them. Slightly chewy, perfectly salty, simply goodness. And so Autumn(y)! I was excited to make my very own batch for the first time.

I gutted my pumpkin and saved every single seed I could. Rinsed and cleaned them in cold water. Coated them with olive oil. And then...I reached for the salt. So far so good.

That is until the salt container dropped out of my slippery, oily hands onto the seeds.

So what did I do? I looked over my shoulder to see if anyone else saw the huge mound of salt on the pumpkin seeds, and when, to my delight, I saw that Steven and our guests were oblivious to my blunder, I quickly mixed the salt with everything else and tossed the pan in the oven.

Turns out, they were the worst pumpkin seeds ever! Salty enough to make your eyes well up with tears and your nostrils sting. 
I seem to be striking out on all these fall festivities...

Is it Christmas yet?

8.30.2012

Creamy Jalapeño Rolls

If you are ever in need of a quick and easy, yet extremely tasty snack, look no further! These creamy, jalapeño rolls are delicious and so simple! And you only need 3 ingredients!

1 (8oz) block softened cream cheese
2 minced jalapeños 
1 tube regular crescent rolls

Directions: Preheat the over to 375 degrees and grease a baking sheet. In a small mixing bowl combine the softened cream cheese and minced jalapeños. Mix thoroughly and set aside. 

Open the crescent rolls but DO NOT separate them. Roll the crescents out flat on the counter and then pinch together the perforation**. With a spatula, take the cream cheese mixture and spread evenly over the crescent rolls. Roll the crescent rolls back up to make one long roll (to look like the tube shape they are originally packaged in). Evenly cut the roll into 12 pieces and place on the greased baking sheet. Cook for 15-18 minutes or until dough is slightly browned and crispy. Makes about 12 creamy jalapeño rolls.
They are so delicious and have just the right kick of spice! Let me know if you give these a try. I'd love to hear how they turned out! I plan on making the jalapeño poppers version for this upcoming football season!

**If you'd rather make jalapeño poppers, only pinch together the diagonal perforations and separate the  horizontal one, splitting the crescent rolls into two sheets. Then continue with the directions as directed. This will double your recipe, making about 24 jalapeño poppers. 

8.01.2012

Spicy Thai Shrimp Lettuce Wraps

Steven and I LOVE thai food. Actually, I think we just love food in general, but thai is at the top of our list. There is this amazing thai place right down the street from us that we order takeout from all the time. But trying to be frugal newlyweds means eating out less! {Bummer!} I decided to browse the internet for an amazing sounding spicy thai recipe and found nothing. Why are there no good thai recipes online? Also, if anyone knows of a website I could find some let me know! I decided to just go to the store and whip something up! I know, so domestic of me. 

So here are my Spicy Thai Shrimp Lettuce Wraps! 
Here's what you'll need:
  • 1/2 cup of quinoa
  • 1 green bell pepper
  • 1 tomato
  • 1 onion
  • 1 tsp garlic
  • Shrimp (I used shrimp that was already deveined and had the tails removed)
  • 6 oz sweet thai chili sauce
  • 2 jalapeños 
  • Salt to taste
  • Romaine lettuce
Quick Notes: I decided to replace the usual rice that comes with a thai dish with quinoa, which is all organic and a great source of protein. Also, I have no idea how much shrimp I used! I threw this recipe together rather quickly, so, if I were you, I'd just do it by sight. {sorry!} I used what I thought was enough for two people.

Directions: Place 1/2 cup quinoa in 1 cup water on the stove top. Bring water to a boil then cook for 15 minutes. Remove quinoa from heat and fluff gently with a fork. Set quinoa to the side.

In a large skillet, saute diced bell pepper, tomato, onion, and jalapeños. Mix in the shrimp, garlic, sweet chili sauce, and salt to taste. Cook for 10-15 minutes. 

Wash and separate romaine lettuce leaves. Place quinoa and shrimp and vegetable mixture onto the lettuce and roll the leaf making a wrap. 
I hope those directions make sense! And if you want further spice add some hot red pepper flakes! {That's what Steven and I did.} The extra heat is what completes this dish in my opinion. 

Let me know if you give this recipe a shot and how it turns out! :)