

Christmas is expensive. Buying gifts, mailing cards and packages, and of course all those goodies you have to indulge in at the grocery store since they are only around once a year :). And on top of all that there is still home decor. The spending can add up real quick, and this time of year the urge to splurge is hard to resist! As newlyweds, Steven and I knew we wouldn't be able to stretch our wallets that far, so we decided to not spend any money on decor other than a Christmas tree stand and lights. All other Christmas decor we could pick up at the after Christmas sales when those items are 75% off.
And then I saw this pin for homemade cinnamon ornaments on Pinterest. I had to try it. Had to.
Who needs to spend tons of money on ornaments when you can make these for cheap?
Here's what you'll need.
- 1 cup applesauce
- 1 1/2 cup cinnamon (I got mine at Costco, but you can also get it at amazon)
- 2 tablespoons cloves (grind with a spice grinder or dice them as fine as you can)
- cookie cutters
- twine or sting for hanging (I got my twine at Michael's)
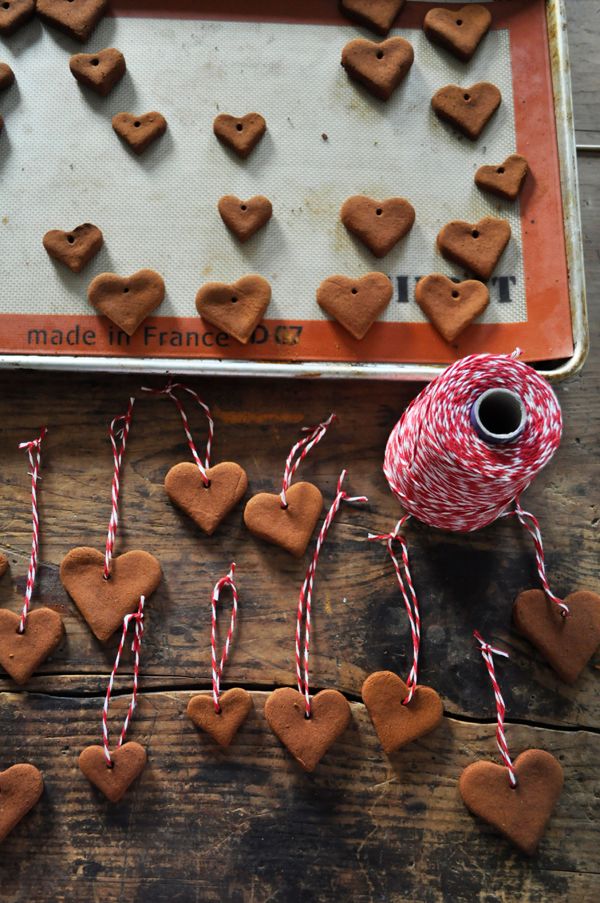
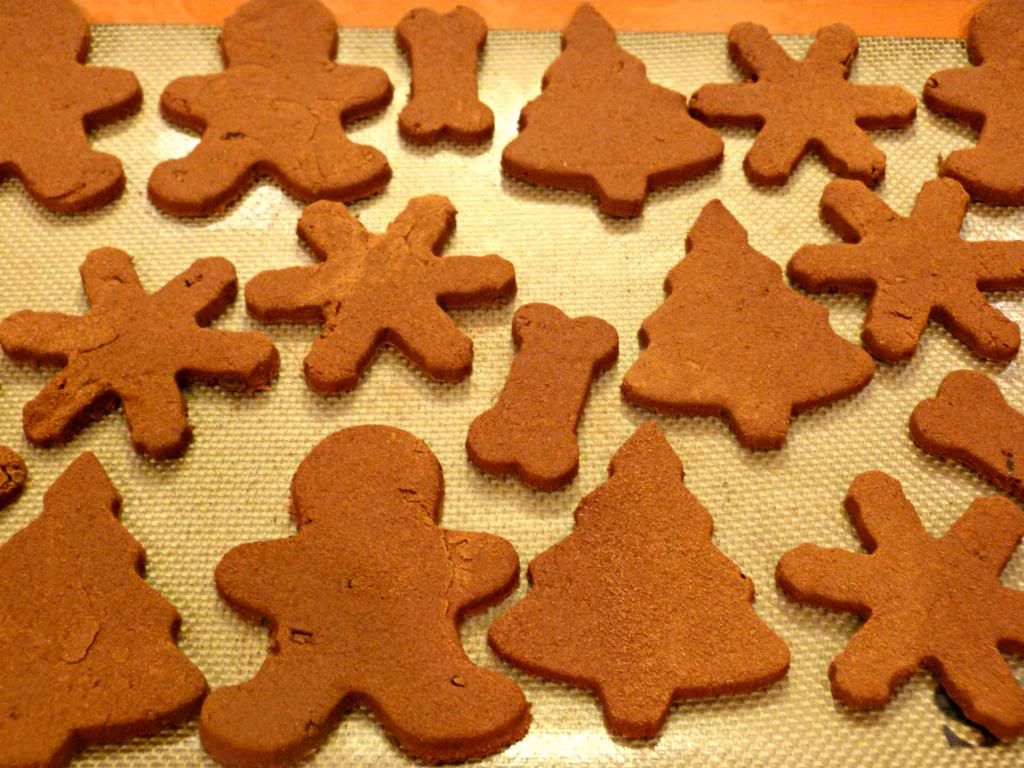
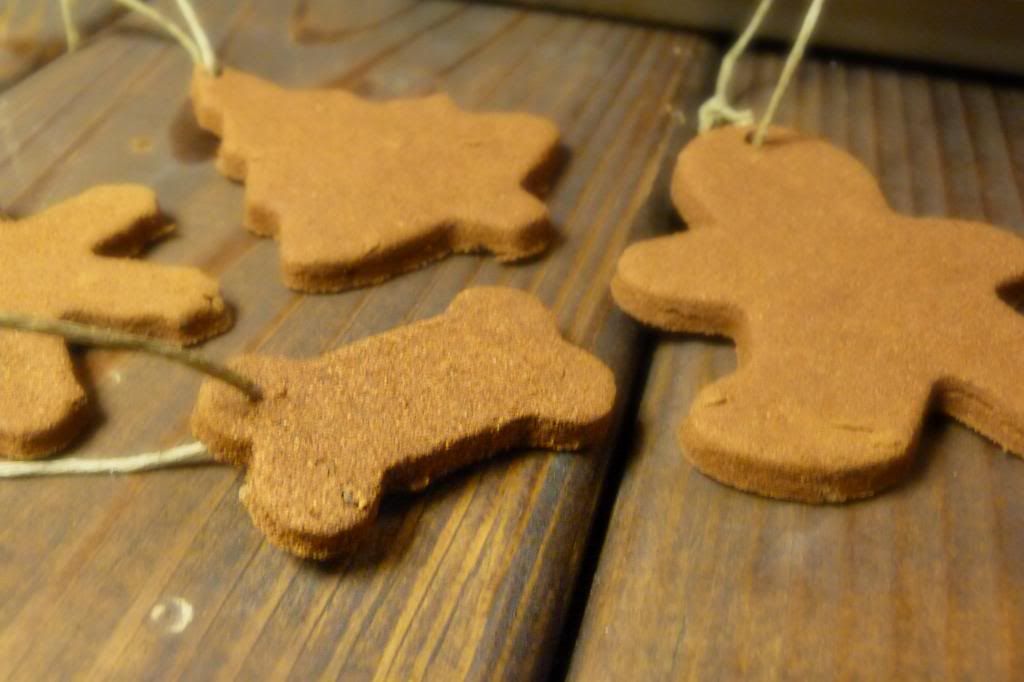
Preheat your over to 200 degrees. Mix 1 cup of applesauce with 1 cup of cinnamon. Use your hands to mix to ensure you are evenly incorporating the spices. Add the additional 1/2 cup cinnamon and cloves. Continue mixing. Scatter some cinnamon and roll out the dough (just like your making sugar cookies!). If the dough sticks to your rolling pin, add more cinnamon. Now use your cookie cutters to cut out your shapes. I used a Christmas tree, gingerbread man, snowflake, and a doggie bone for Huckleberry :)
Place your cut outs on a prepared cookie sheet. Using a skewer make a hole in each (I actually used a toothpick and just made sure I was getting the hole big enough to fit the twine through). Bake the ornaments for 1.5 hours and then let the sit over night. They should be rock hard in the morning and ready to be stung and hung on the tree!!


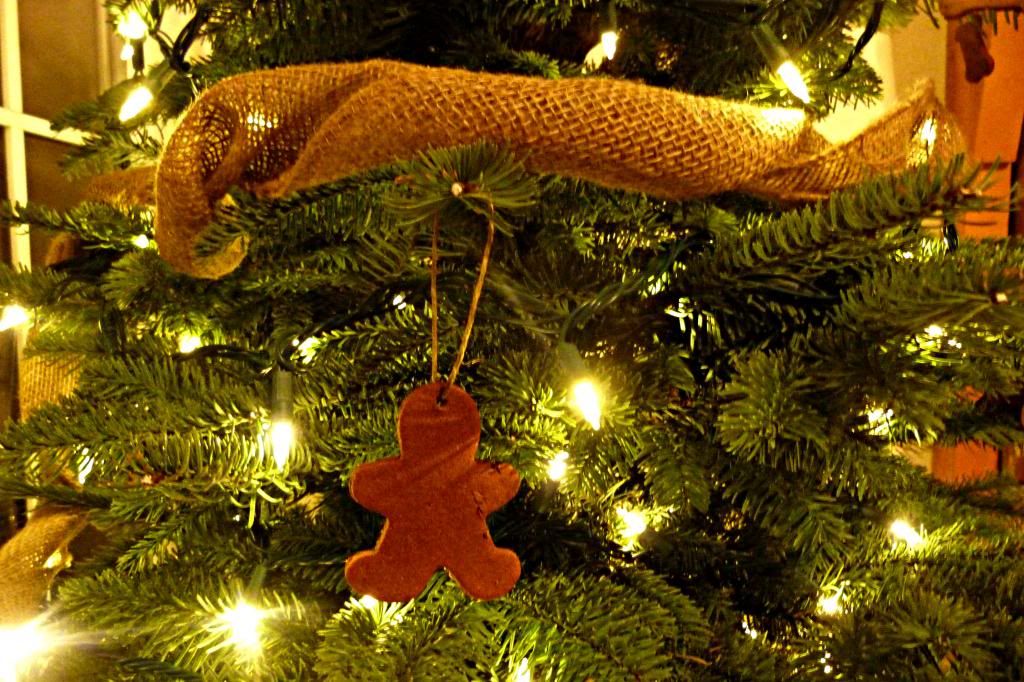
They smell absolutely amazing! But don't be fooled, these ornaments are not edible ;)
P.S. If you haven't entered the S.W. Basics giveaway yet, go here!

11 comments:
My Mom started doing these with us as children. I make them with my kids, I do not bake them though and they harden over night!
this is a great idea! we spent a little more than my hubs would have liked, and i still don't feel like we have enough! it's hard the first year to build your christmas stuff up from scratch. i have to keep telling myself that!
I did a similar ornament last year with salt dough but I think these will make the house smell much better!
I pinned this awhile ago and still haven't had a chance to try it out! I can't wait though! :) New follower from the link up!
xo
You make a good point about feeling like you have to indulge in those treats while they are in the stores. That's what I tell myself! :)
I did these a year or two ago, and FYI you can also decorate them with puffy paint. Makes for a fun craft to do with other people when wine is involved. :)
Good for you for keeping Christmas low-key on the budget!
Your tree must smell delicious!
I have always wanted to try these! I bet they made your house smell amazing!! I love that Huck got some too!
I love that you used burlap for tinsel...it's beautiful!
I've seen this idea floating around pinterest too...might have to give it a try.
Those are super cute! I can imagine that your whole house smelled delicious. Thanks for sharing :D
im totally going to do this...
Post a Comment